
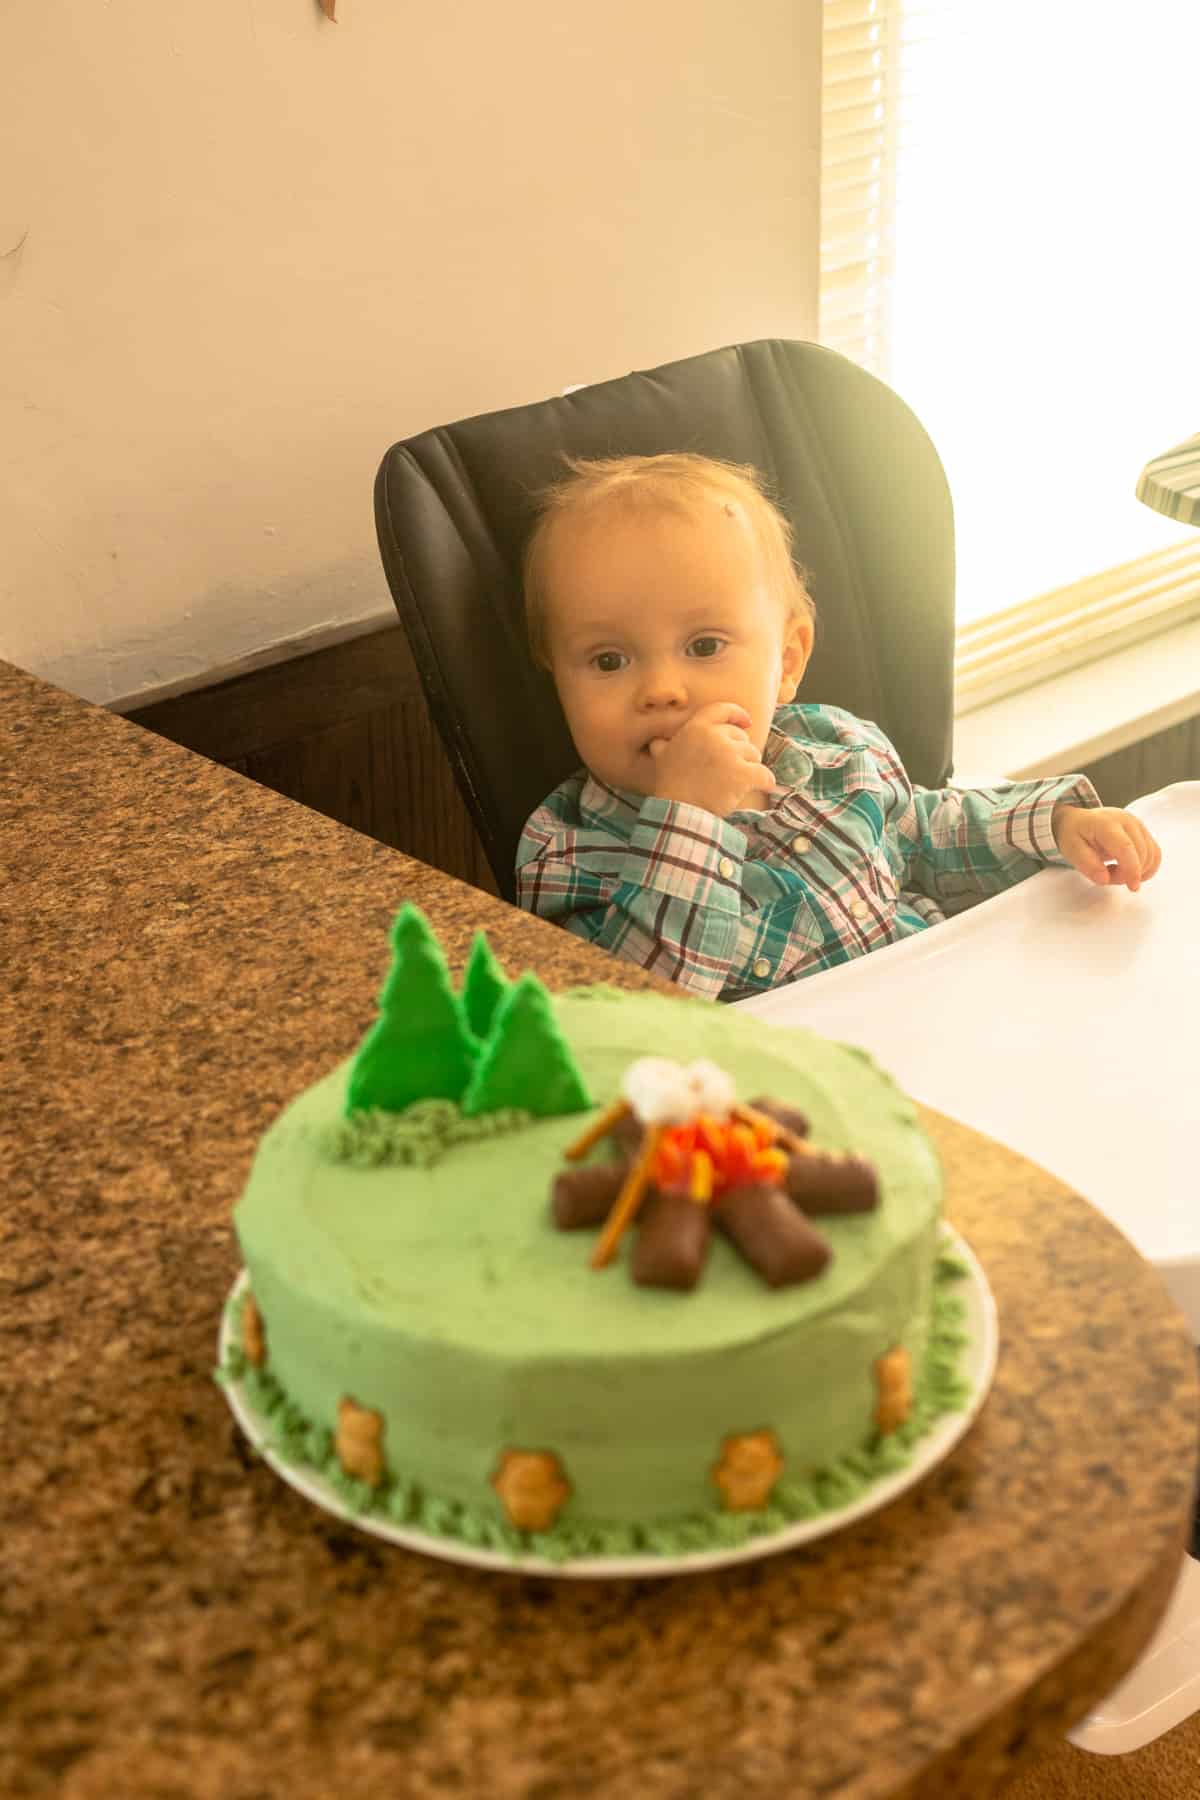
This camping birthday cake was a last minute idea, so it is not fancy! But my little guy didn't really notice anyways. He was more interested in the gifts and the balloons! 🙂

How to make a camping birthday cake
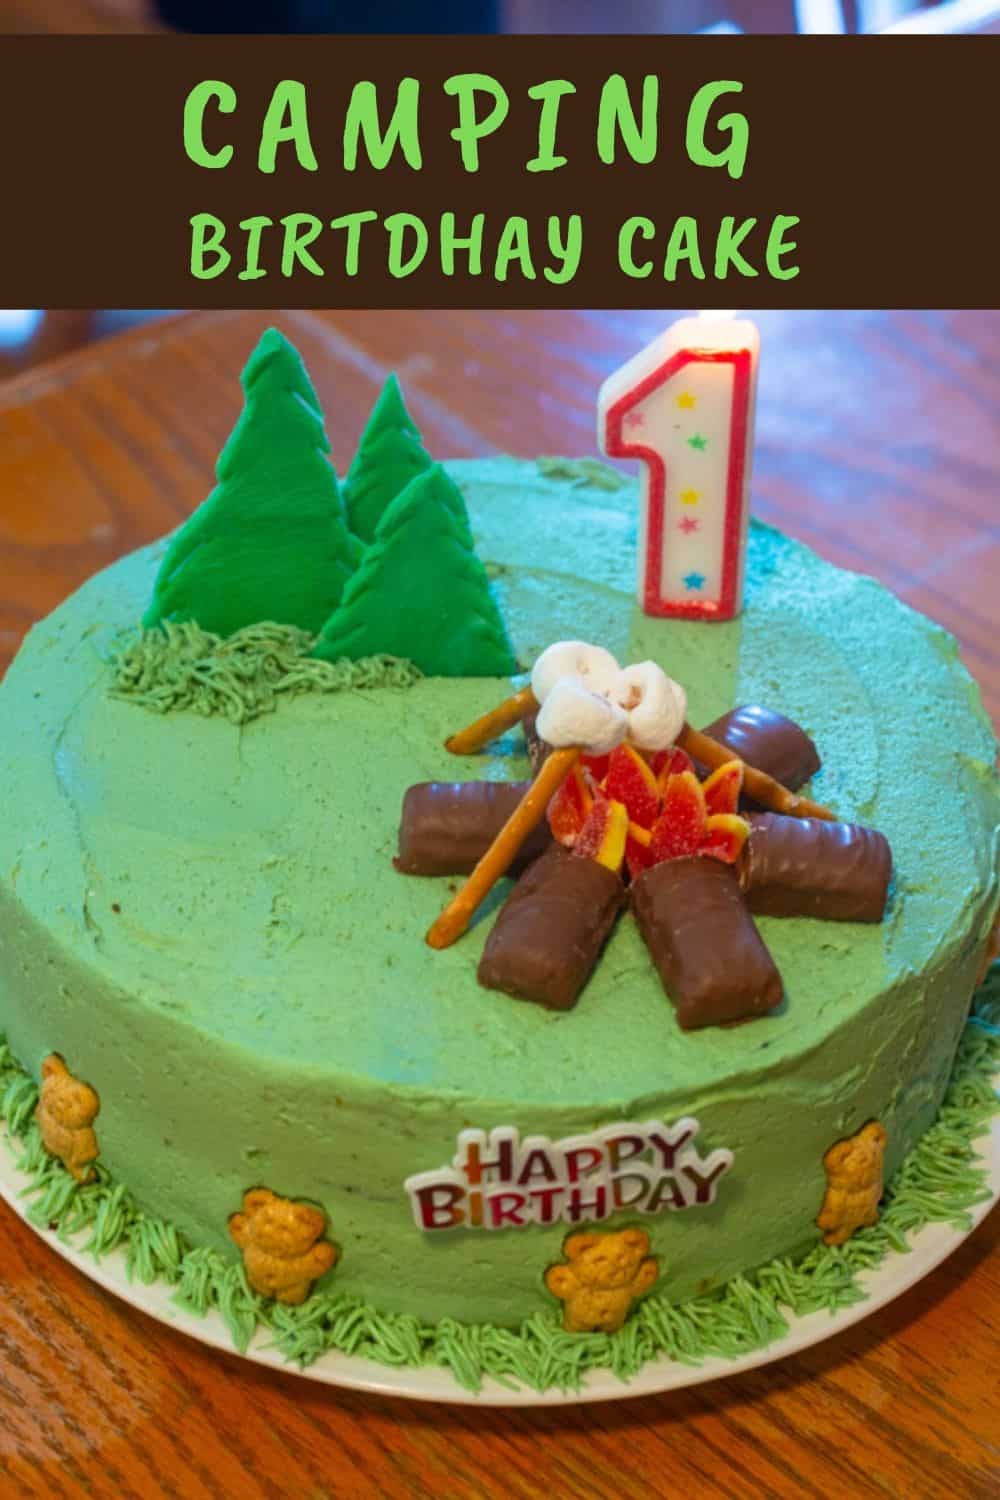
I started with a 2-layer chocolate cake, and then made some buttercream frosting. I colored the frosting with green food coloring, then added a drop of brown and black, to create a more nature-inspired olive green color. I used plain white frosting for the filling, then used the olive green frosting to cover the entire cake.
Making the campfire
I started with some Twix bars, which I cut into three pieces each. I set the center pieces aside, and used six end pieces to form the campfire logs. Then I used a small piece of Twix to fill in the center hole.
Next, I cut some peach rings into flame-shaped pieces. This was easy; just use a sharp knife and cut angled pieces. I dipped the bottoms of the flame-pieces into frosting, and stuck them in the center of the fire-logs.

Making the marshmallows on sticks
Of course, the marshmallows were very simple: just stick a pretzel rod into a mini-marshmallow and prop it over the 'flame'! I think it would look better if you cut a tiny slit in the marshmallow for the pretzel rod to fit into. We just poked the pretzel through the marshmallow, and it squished the marshmallows too much.
Make chocolate trees
The trees were a funny accident! I had intended to drizzle the melted frosting into shape of trees, but I decided to add food dye first. I suspected that the food dye would make the chocolate seize up, and indeed it did! So I rolled the thick green chocolate between two pieces of plastic wrap, then - while still soft - I cut tree shapes into the chocolate with a knife. I stuck the pan in the fridge while it hardened, then carefully broke out the shapes when it was fully cooled.
After the trees were cooled, I simply pressed them into the frosting, and they stood up nicely. I used a grass decorating tip to squeeze out some frosting around the trees and edges of cake to mimic grass. If you don't have the grass tip, you can find it here on Amazon, or just skip that part.
I made this cake for a one-year-old, so I added some Teddy Grahams around the sides, for extra interest. But if this is for an older child, you might want to skip that, and go for a bear figure standing beside the trees.
I hope this helps give you and idea of how to create your own camping birthday cake design.
You might enjoy this Yellow Cake from Scratch (use a double recipe for a layer cake).

Love this! My twins turn 2 in a few weeks so I'll be giving this a try!