
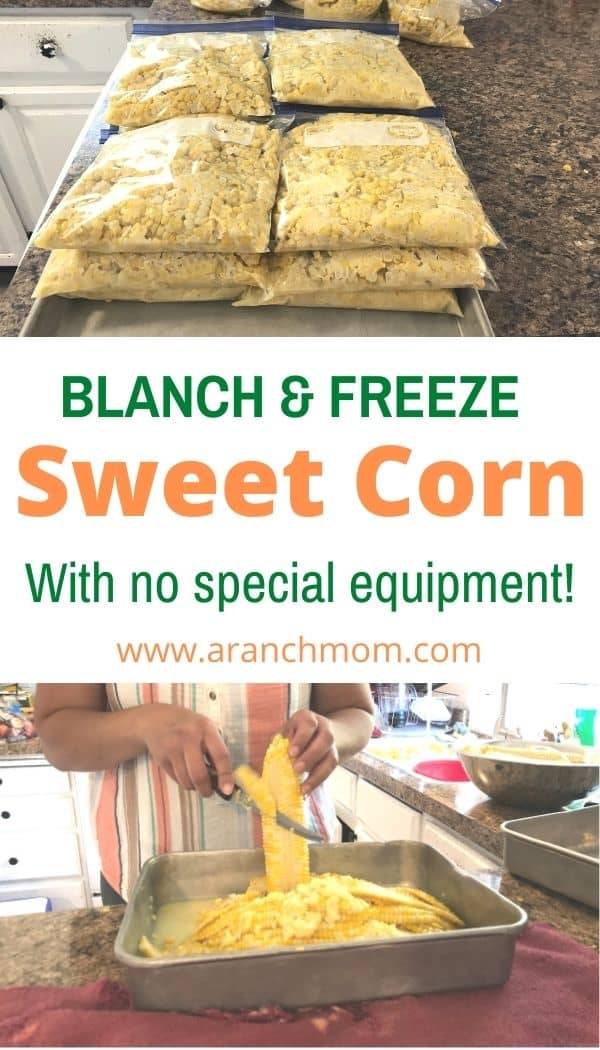
I will show you exactly How to Freeze Sweet Corn , all the tips and tricks from many years of doing it. Sweet corn fresh from the field has to be one of my favorite summer foods! I love piling a plate high with piping hot ears, melt butter all over an ear, sprinkle with salt, and dig in. But sweet corn season doesn't last long, so I freeze corn for those long winter months. Home-frozen sweet corn is so delicious! If you ever freeze your own corn, you will never want to eat store-boughten frozen (or canned!) again.
I spent many childhood summers in southern Illinois, where corn grew like crazy in the long, hot summer. Out here in Wyoming, it is hard to grow corn. The summer is too short, the nights too cool. So I buy it from the Farmer's Market. Most of it comes from Eastern Wyoming or Colorado. Anyways, it is delicious.
How to freeze sweet corn
First the corn needs shucked. I like to spread a tarp in the yard and place the ears of corn on the tarp. Then all the kids (or whoever you can wheedle into helping!) sit around the edge of the tarp, each with a pile of corn beside them and a clean bowl or tub on the other side. Pull off all the husks, and throw them into the center of the tarp. If you are careful, you can get most of the silk when you remove the husks. When you are finished, you just need to pull the tarp to wherever you want the husks dumped! Easy!

How to freeze ears of corn
If you prefer to freeze whole ears of corn, you certainly can. It is really easy! Just place husked, whole, ears of corn into freezer bags. Press out as much air as possible, and close tightly. Lay flat and freeze. When it is time to cook the corn, just drop frozen ears of corn into boiling water and boil for 10 minutes. Or you can grill the ears of corn.
Cook the corn
When several bowlfuls of the corn are husked, one person (in our case it is always mom) starts some water boiling on the stove. Use the biggest kettles that you own. I like to use stockpots or water bath canners. You can find cheap ones at the Thrift store, or maybe borrow one from a friend. The bigger the kettle, the faster it will go. Also, ears of corn don't fit in small kettles very well!

Fill the kettles about 3/4 full with water, and turn the burner to high. When the water starts to boil, you can lower the heat to med-high. When the water is at a full, rolling boil, carefully place ears of corn into it. Very carefully, because the water will splash out and burn you! Let the water return to a full boil, then set a timer for 3 minutes. Let the corn boil for 3 minutes, then use long tongs to carefully remove the ears of corn, and place them into a basin or sink of cool water.

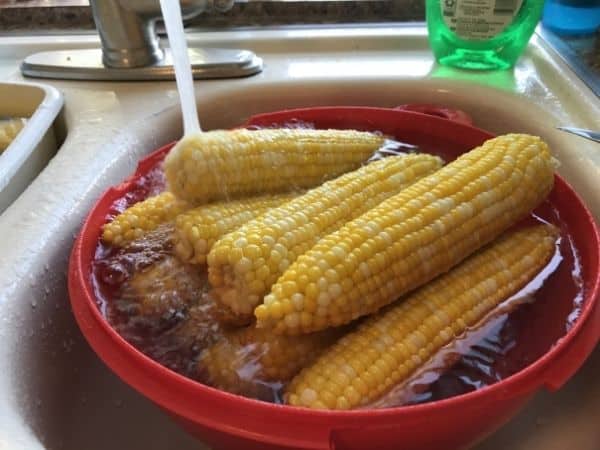
Cool the corn
I like to have 2 tubs or basins of water to cool the corn. First, I place them in a clean sink full of cool water. After about 3-5 minutes, I take them out of the first water bath and put them in a cooler full of ice-water. I put several bags of ice into the cooler, then cover the ice with water. That really finishes cooling the corn quickly! You can just use the cooler and skip the first water bath, but the ice will melt so much faster that way.

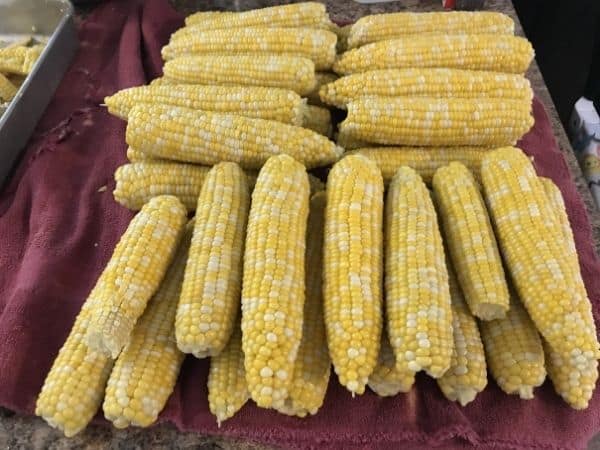
When the corn is completely cool, take the ears out of the water and lay them on a large towel to drain. I stack them on the counter to drain while I continue blanching the rest of the corn.
To freeze corn kernels:
After the corn is cooled, it is ready to cut. You can buy corn cutters on Amazon, but I prefer to cut mine with a knife. You do want a really sharp knife for cutting corn. A dull knife will make the process log and tedious. I have a knife sharpener similar to this one and it works great.
My method for cutting corn: I place the corn cob in a shallow pan or dish, standing it on one end. I hold the tip of the cob with my left hand, and carefully slice the kernels off the cob, using a knife in my right hand. I like corn that is not too creamy and definitely not to crunchy. So I cut off about half the kernel of corn, and then scrape the cob to get the rest of the juicy kernel. That sounds strange, maybe, but it produces a lovely end product that gets many rave reviews! I don't know if there is a name for this type of corn, because it is halfway between whole kernel and creamed. It's half-kernel, haha!

Here I am slicing off the kernels. You don't want to get too deep into the tough inner part of the kernel, just slice off half, then scrape the cob firmly with the knife (shown below) to get the rest of the juicy inner part of the kernel. Of course, you can cut it however you like. If you like creamed corn or whole kernel - go ahead and cut it that way. You can still follow the rest of the instructions listed here.

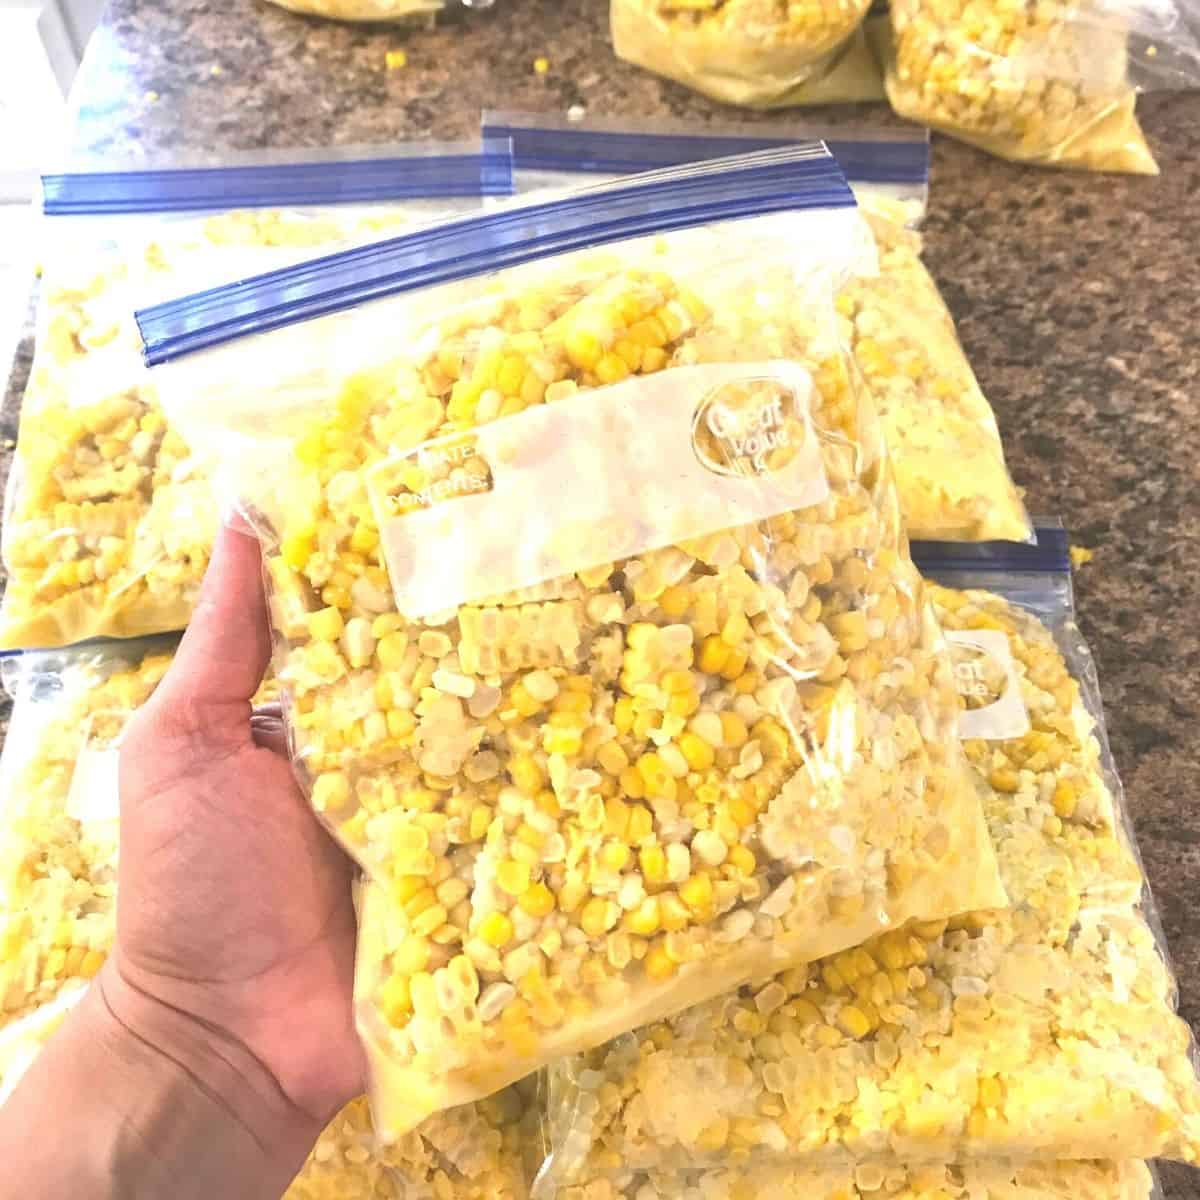
Bag and freeze the corn
After all the corn has been cut and scraped, I fill freezer bags with the corn. I use a sturdy measuring cup with a strong handle to scoop the corn and carefully pour it into the bags. I try to scoop down through the bowl of corn to get some of the juicy stuff at the bottom. (you don't want to have some bags of kernels and some of just juice!)

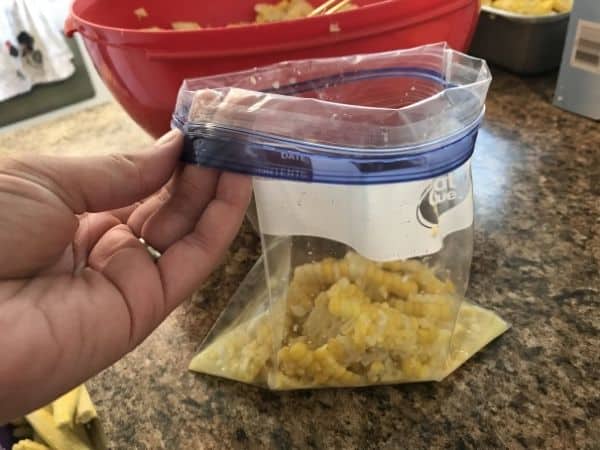
Low-mess Tip for filling freezer bags:
I do not like messy bags, so I flip the top of the bag over, before I fill it. This way, any sticky mess will be inside the bag, not outside. Then use a measuring cup and carefully slide it inside before you dump. With a bit of care, you'll avoid a lot of mess!
You can also use a bag stand, like this Baggy Holder For Food Prep.

You need to use freezer bags, not storage bags. Storage bags are thinner, and the corn will get freezer burnt quickly. Freezer bags are thicker and will keep your corn fresh for months. I have stored corn in my deep freeze for up to a year and it is great.
You need to decide how much corn your family will eat in one meal. Our family eats about 1/2 cup per person, so I use quart bags and put three cups per bag. Fill the bag as desired, then squeeze out as much air as you can when you zip it shut. If you lay the bags of corn flat while they freeze, then they will save storage space in your freezer. I lay mine on baking sheets to freeze, then stack them together when they are frozen. Tip: make double sure the bag is zipped shut, a leak will make a mess in your freezer.
Label the corn with the year, and you are finished! Well, except the cleanup - and it's a doozy! Ha. Corn is probably the stickiest, messiest thing to process, but also one of the most satisfying in the middle of deep winter, when you want a taste of hot summer.

How to thaw and cook frozen corn
When you want to eat the corn, simply thaw a package of sweet corn in the fridge, or run it under warm water til you can break it apart and get it out of the bag. Place the corn in a small pot and add a tablespoon of butter or more! Add salt to taste - about a 1/2 teaspoon per quart is all I add, but you can adjust to your liking, or omit the salt altogether.
Cover and heat over low or medium heat till bubbly and hot. Corn burns easily, so you need to stir it often, and stay nearby, so you can check it. If it is too dry, add a 1/4 cup of water.
I hope this guide helps you to preserve your corn harvest and that you enjoy your delicious sweet corn!

One of my favorite childhood memories with my grandma for sure!
First time I ever froze corn. It was vEry easy Thanks
Oh I'm glad to hear this!
OMG can't figure out why so many of you people are making freezing corn so complicated and long.
Just cut the corn off the cob. then put the corn in zip freezer bags lying flat into the freezer. that is it.